
I recently started working with a client on the final stages of a new product development project. The hardware design is based on a Microchip PIC24FJ1024GB610 microcontroller and firmware is being developed on a Microchip Explorer 16/32 development system until prototype hardware is fully tested. I have been working almost exclusively recently with the TI MSP432, and it’s been great fun familiarizing myself with Microchip’s 16-bit development environment.
Tutorials and demo applications are great sources of information, but are often from the perspective of a single developer, and brush over details such as source traceability and effective team development – often important within an enterprise to reduce risk and expedite time-to-market.
In this new series of blog posts, I will explore using the Microchip Library for Applications (MLA) as the basis of a new project, managing source files in a version control system (Git), sharing a source repository amongst a team using Dropbox, and finally integrating an application with the Microchip Easy Bootloader (EZBL).
Development Environment Summary
- Windows 10 development workstation
- GitExtensions 2.50.02
- MPLAB v4.05 (necessary at this time to use Easy Bootloader)
- MLA v2017_03_06
- Microchip Explorer 16/32 development board with PIC24FJ1024GB610 PIM
- MikroElektronika microSD click (mikroBUS™ microSD Card module)
Create new MPLABX project
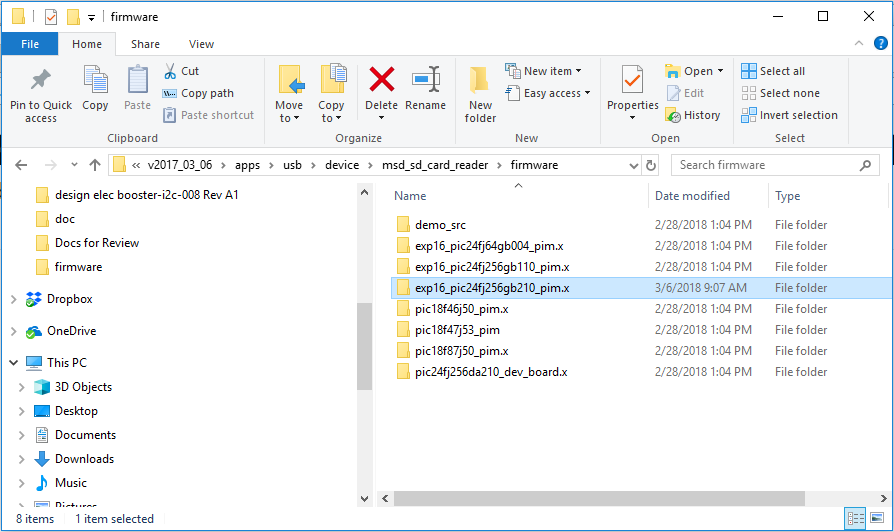
Microchip provides the MLA (Microchip Library for Applications) which includes demo applications which can be used as the basis of a new project. Two important components of the new instrument’s functionality is to present an internal SD Card to a USB host as a Mass Storage Device (MSD), and to support in-field firmware updating.
Based on this functionality, it was appropriate to start with the MLA msd_sd_card_reader demo app, and integrate EZBL after getting the demo code running on the Explorer 16/32 development system, .
Unfortunately the MLA does not include a specific app for the Explorer 16/32 and PIC24FJ1024GB610, so I will have to adapt the Explorer 16 demo app for the PIC24FJ256GB210.
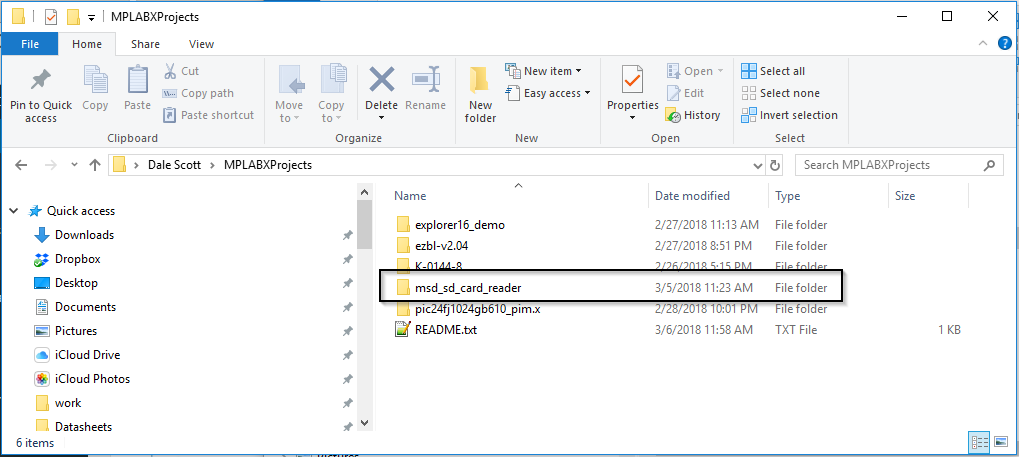
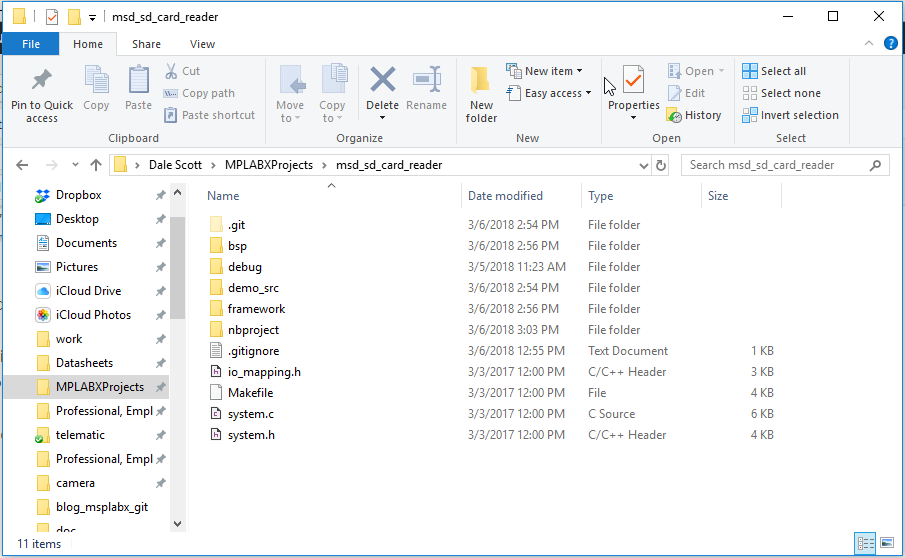
Copy the selected demo app to the ~\MPLABXProjects directory and rename it to something meaningful.
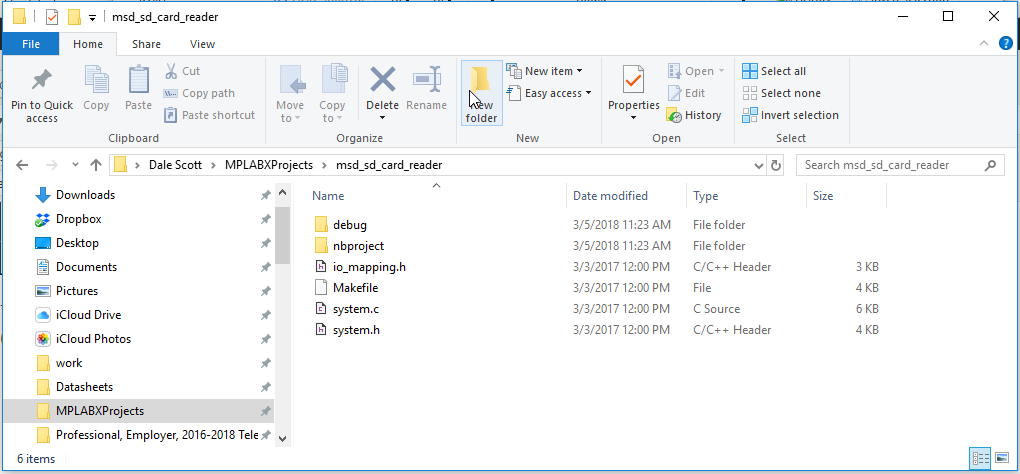
The project directory includes sources files and MPLABX project meta-data.
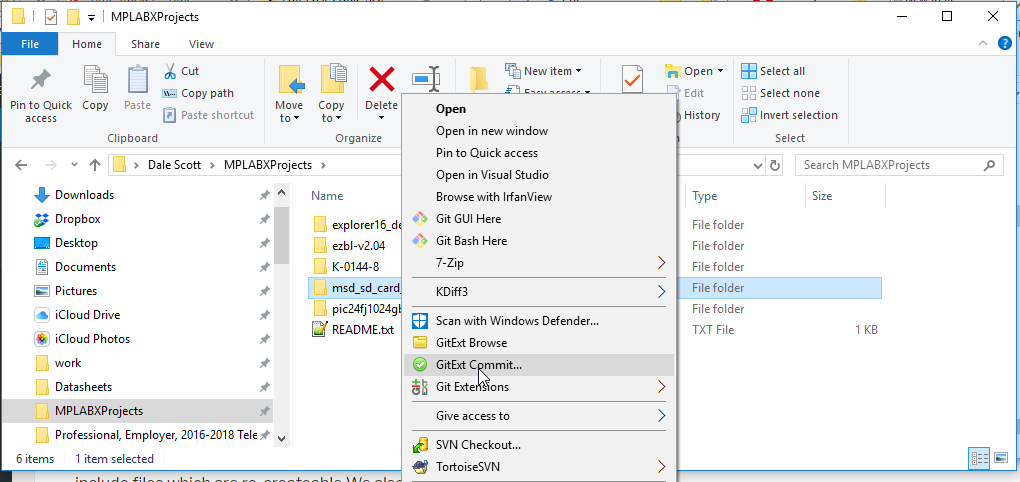
Now that there are files in the project it’s time to put it under version control. I will use Git for the project source file version control system (VCS), and have installed GitExtensions which integrates with Windows Explorer. MPLABX includes a built-in Git client which can be convenient but is less featured than GitExtensions. I’ll try to show the MPLABX Git client in a future post.
Start by using GitExtensions to create a working Git repo from the project directory.

Create a suitable .gitignore file so that Git will ignore files we don’t need to keep in the repo (generally the intermediate and debug compiler output). MPLABX project meta-data will be kept in the repo though, as it includes specifying which files the compiler is to use, the include path settings, the target processor, etc. The new project files are then committed to the repo.
The project won’t build yet though because I haven’t copied the MLA support files into the project yet. I’m going to simply copy the MLA framework\ and bsp\ directories into the project. Even though I likely won’ t need all the files, it’s convenient to have a complete and consistent MLA in the project as it will simplify use and maintenance.
The source file directories in the project properties must be configured for the new MLA location within the project directory structure.

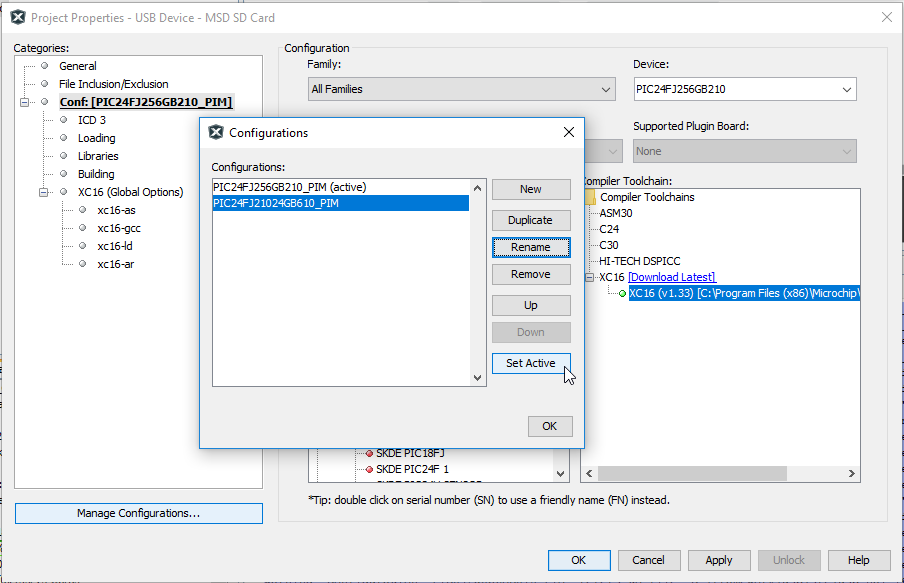
The build configuration must also be updated. I created a new configuration by copying the existing build configuration, and renaming it according my target processor and set the new configuration active.
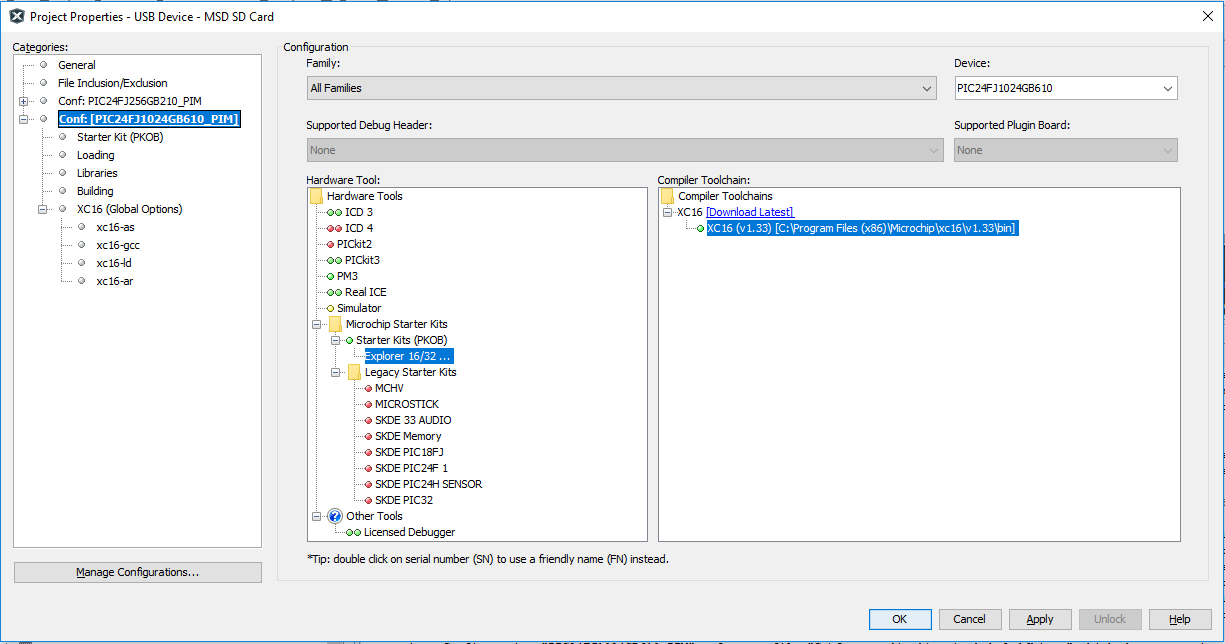
I also set the target Device to the PIC24FJ1024GB610, and picked the Explorer 16/32 development system in Hardware Tools.
I had hoped the project would build at this point, but at least not complain about missing files. This was not the case. Performing Clean and Build Project produced a torrent of missing files.
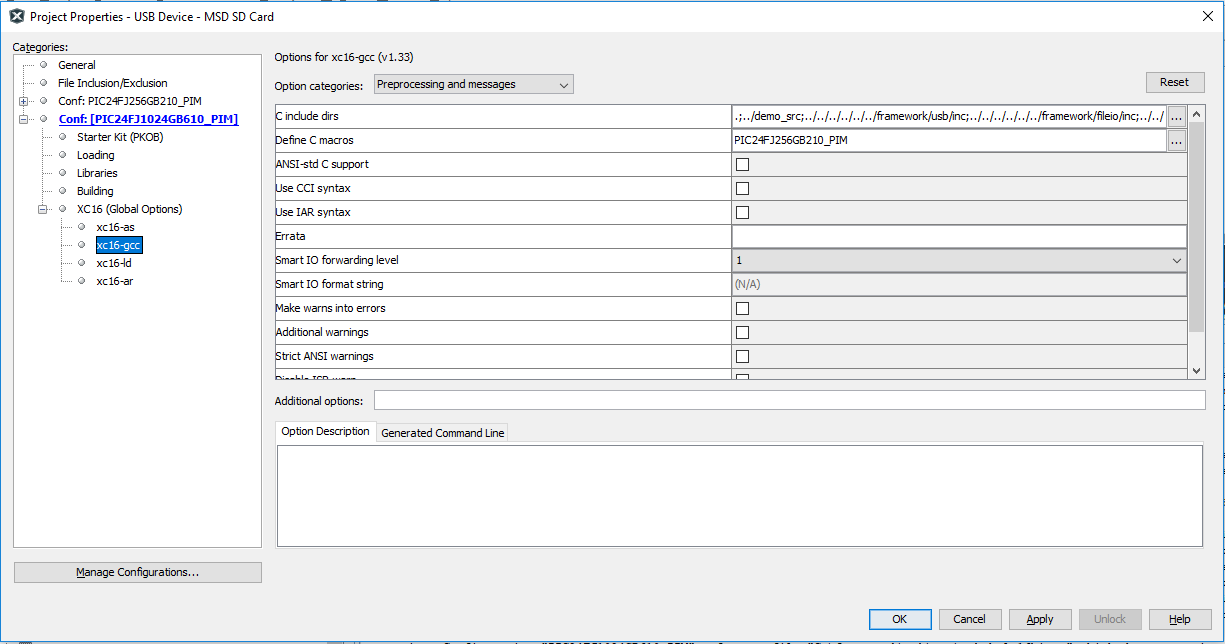
Investigating, I first found the build configuration includes specifying the “C include dirs” for the xc16-gcc compiler pre-processor, seemingly duplicating the project Source Directories. I made the preprocessing include directories the same as the Project Properties Source Folders set earlier.
I then noticed that files reported missing in the build output were not shown with a “!” in the project navigator, and they also didn’t have the expected “H” or “C” in their file icon.
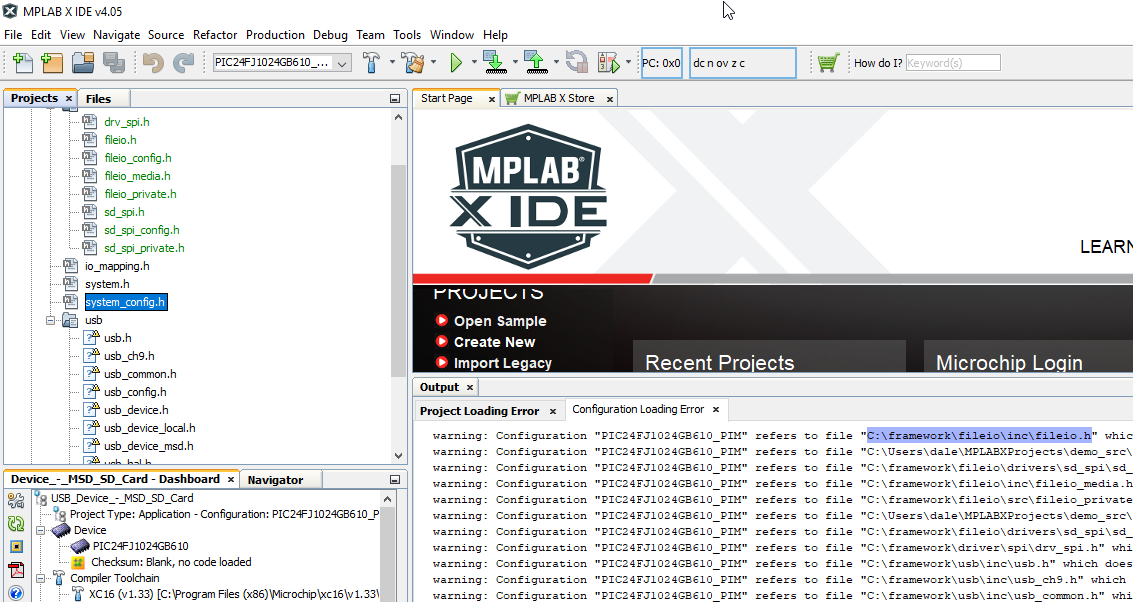
I don’t understand why the files they weren’t found since I had corrected the include file settings. I had thought path settings were all relative to the project directory, but for some reason MPLABX expects the framework directory to be in the root of the drive, instead of the root of the project. Not sure what else to do, I individually removed each include and source file and then used “Add existing item” to re-add each file.
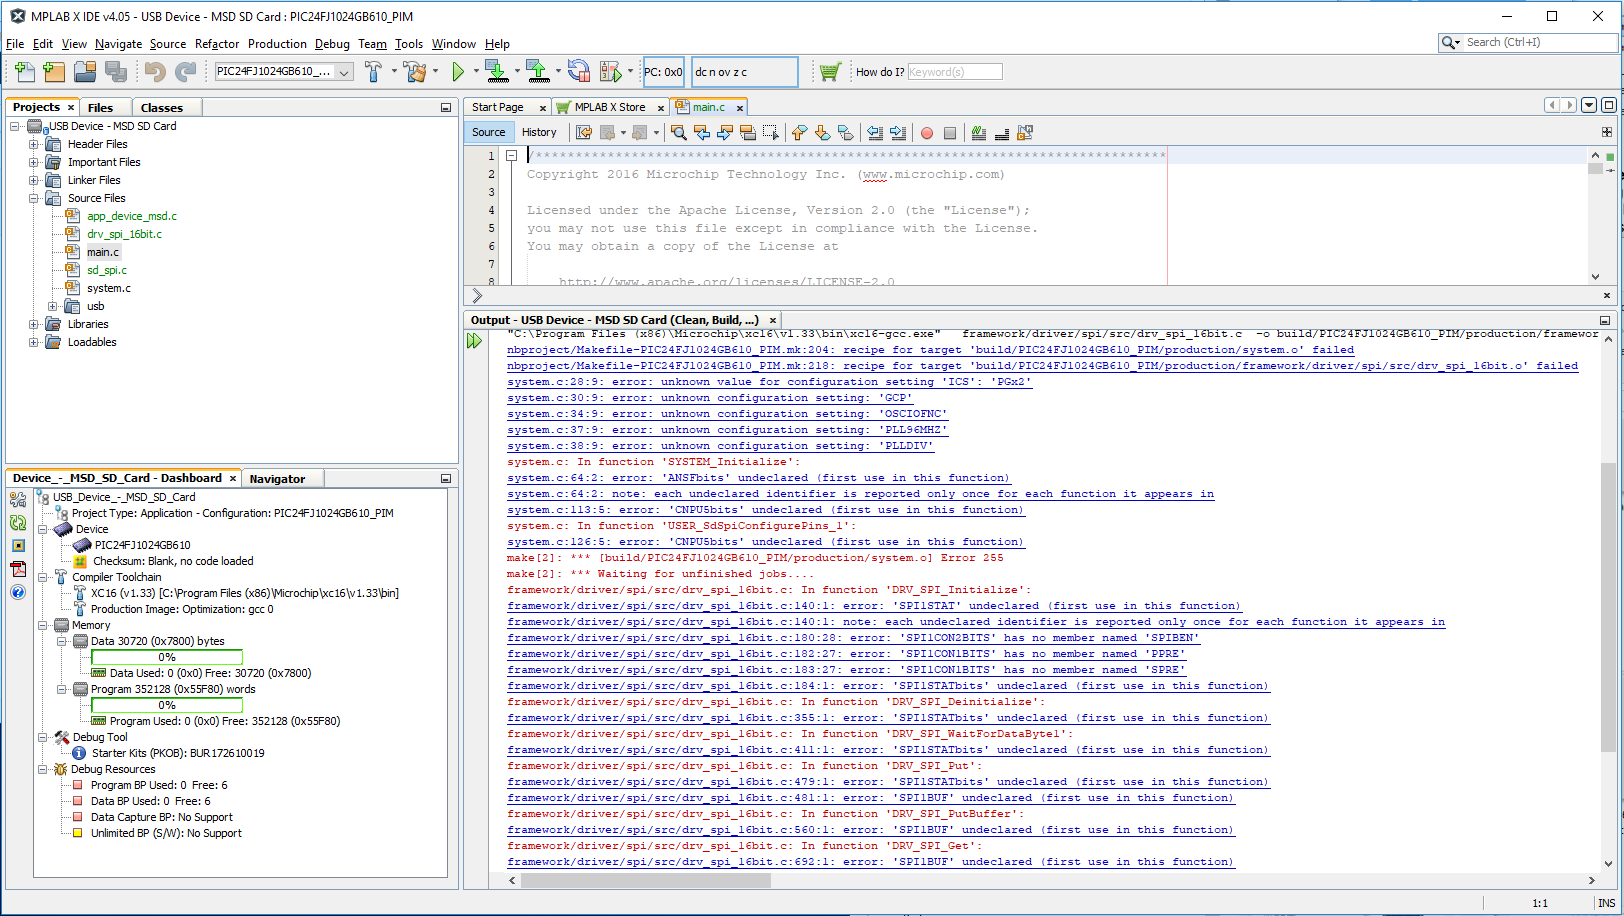
The project still doesn’t build, but now there are no errors due to missing files.
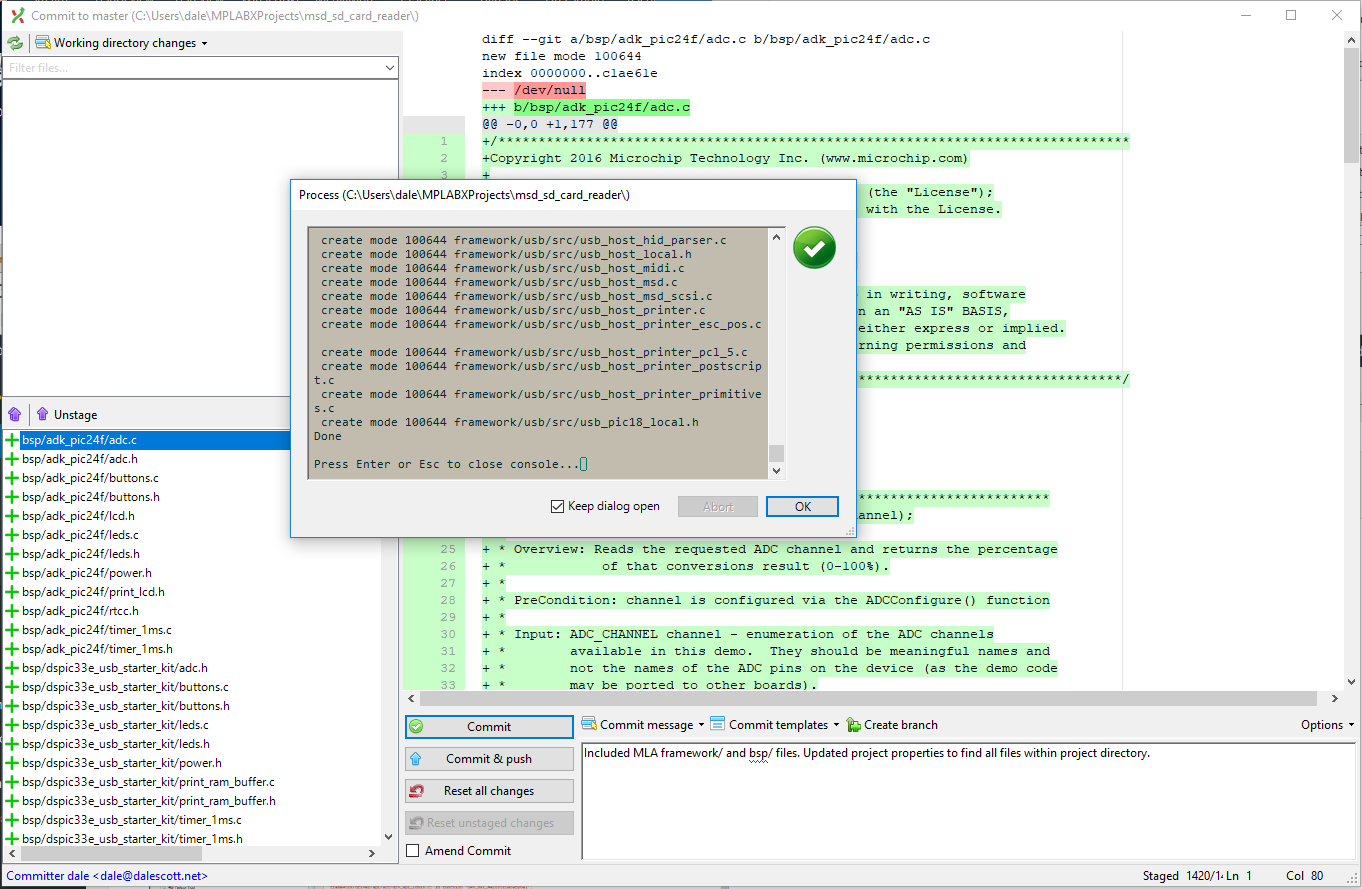
Now that all the files are found, I will commit the updated project to the Git repo.
In upcoming posts, I will fix the undeclared symbol errors, push my local dev repo to a Dropbox repo to share with others, and finally integrate the demo app with the Microchip Easy Bootloader.
For Followup
The correct use of include directory settings is still not clear to me. Manually removing and re-adding each source file would be extremely laborious and error prone in a significant project, and I am concerned I may have made the project non-portable in the process.
There is a note in the Getting Started document for the Microchip Libraries for Applications on this topic, which I need to explore in the future. Point 1 seems to imply though that at least the framework directory must be in the same location on each development system.
Project Include Path Settings
1. Path to the framework folder: In order for the projects to build, the include path up to the framework folder should be
provided for each build configuration and must be placed in the “Includes directories” list in the compiler properties for the
project. The framework module header files expect this. It is already done for the examples provided with MLA, but for the
customer specific project, this needs to be done.2. Path to system_config.h: For each build configuration, the path to system_config.h needs to be provided.
3. Path to the application project src folder: The hardware independent code resides in the src folder for the application.
The path to the src folder needs to be provided for each build configuration.For a project to be portable from one machine to another, it is recommended that the paths in the MPLAB X are relative,
while adding files to MPLAB X and while specifying include paths.
(Getting Started, Microchip Libraries for Applications. (c) 2013 Microchip. help_mla_getting_started.pdf, page 11.)