I started as a technician, first setting up sound reinforcement and projection equipment at a convention facility, co-founded a DJ business and constructed our PA system from scrach, then got into electronics maintenance and repair at a community college. After obtaining a university degree in engineering, I designed integrated circuits for the first generation of 900 MHZ analog cellphones, the first generation of CA-code-phase tracking GPS receivers and digital pro-audio. I then progressed through a variety of leadership roles in product management, marketing, engineering product development and manufacturing, in fields such as industrial GPS-based positioning and navigation, pipeline integrity inspection and industrial process control.
Over the next couple weeks, I will be exploring the %150 BOM concept and how the concept can be implemented in ERPNext.
I recently encountered the “150% BOM” and had to look deeper.
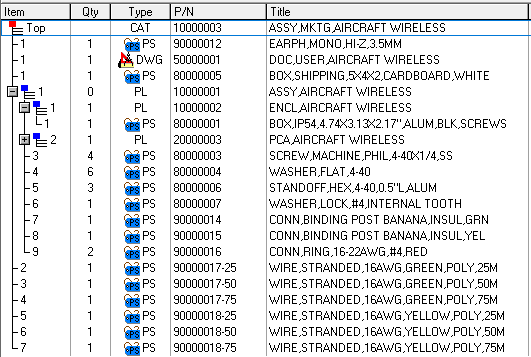
The 150% BOM concept is a method of managing products that are essentially variations on a common theme, such as a car that is available pained either blue or red. You could manage the cars as completely separate products (albeit that share a lot of common components), but are truly different products. A 150% BOM includes all the variants of a product, from which specific BOMs – the 100% BOMs – are created.
Here is a simple 150% BOM for the marketing level of the SCC Aircraft Wireless product. Three different lengths for antenna and ground wires are provided in the BOM, and a specific length of must be selected to create an order.
Stay tuned, the next update will describe implementation options in ERPNext.
The purpose of product verification testing is to verify the product meets its’ design goals, and is included in any set of best practices. But what really is being verified?
Compliance to undocumented or informal assumptions of user expectations?
Compliance to documented external requirements, potentially including regulatory requirements?
Compliance to internal design goals, possibly including a code standard, static code analysis, and unit testing?
Confirm buttons can be pressed in any sequence and nothing bad happens?
Combinations of the above?
Formal complete verification testing is a valiant goal, but difficulties can be encountered in practice, particularly when funding is limited. A good formal test phase can cost as much in calendar days and labor $$’s as the design phase! A startup may not have the funding and runway for a good test phase, and could even be prejudiced against test by overconfident designers and managers.
Unless verification test is represented on the project team from its onset, test resources will usually get addressed late in the development phase – once there is something to test. This means developers will first need to spend time onboarding the test resource to a suitable level familiarity with the product and the codebase, and more time during the test process to clarify ambiguous behavior and investigate test failures. A more viable strategy can be to leverage the design team’s intimate knowledge of their system in the test effort.
I like to think of product verification testing as a stool with three legs, one leg is automated regression testing, one leg is feature-specific testing, and the final leg is ad hoc “try to break it” attempts.
Use an automated test to catch obvious blunders with minimum effort, and run the test on every release candidate, every night, or even after every commit to the code repo. Creating the test will unavoidably take time from the development team, but often the time is not significantly more than that needed to on-board a developer-level test resource, explain requirements and validate the created test.
Use feature-specific tests for verifying areas of concern where there is high risk, or where there is high consequence (such as regulatory compliance). Existing areas of concern by team members can be identified and explored in team whiteboard sessions (e.g. a concern the system may lockup if a user is interacting with the device when the internet connection is lost), and fault tree and/or failure-mode analysis diagrams can be created for further resolution and clarity. It may be practical to involve a temporary resource at this point to off-load the development team (e.g. an engineering or computer science co-op or summer student) and the test phase will have a higher chance of success, instead of muddling about for a month or two due to lack of support and produce no tangible results.
Use ad hoc “break-it” testing to find issues that would never be contemplated by the design team. The tester should not be familiar with the design internals, but should preferably be at least familiar with the product domain. As such, it can often be off-loaded to your favorite student again. However, be cautious of expecting useful test feedback from beta testers. Despite best intentions, beta testers are typically not motivated to spent effort in areas of functionality not of direct interest, or to document found issues to the degree needed by the development team.
Separation of design and test, documented requirements, formal verification, etc. have become best practices for a reason, but may not be practical or feasible for a startup chasing their first product. If the startup is successful at creating a revenue stream to protect, it will be able to adopt or refine its practices. If the startup fails due to having built the wrong product, in hindsight clearly resources spent on verification would have been better put towards market intelligence and alpha testing a proof-of-concept.
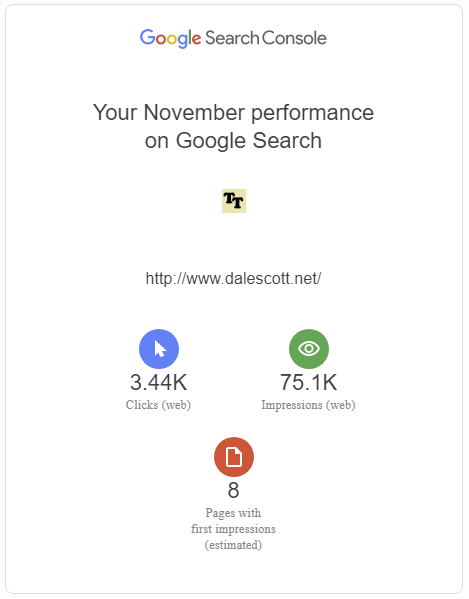
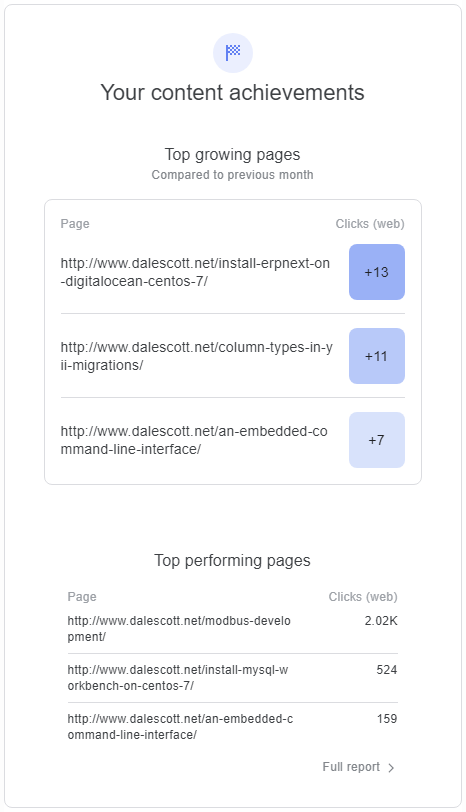
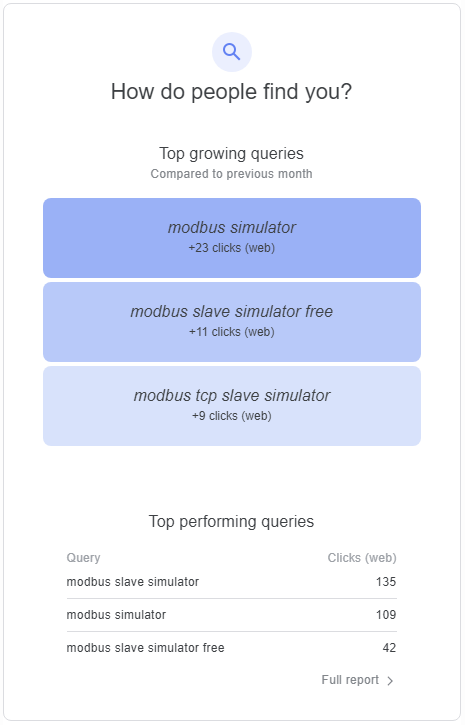
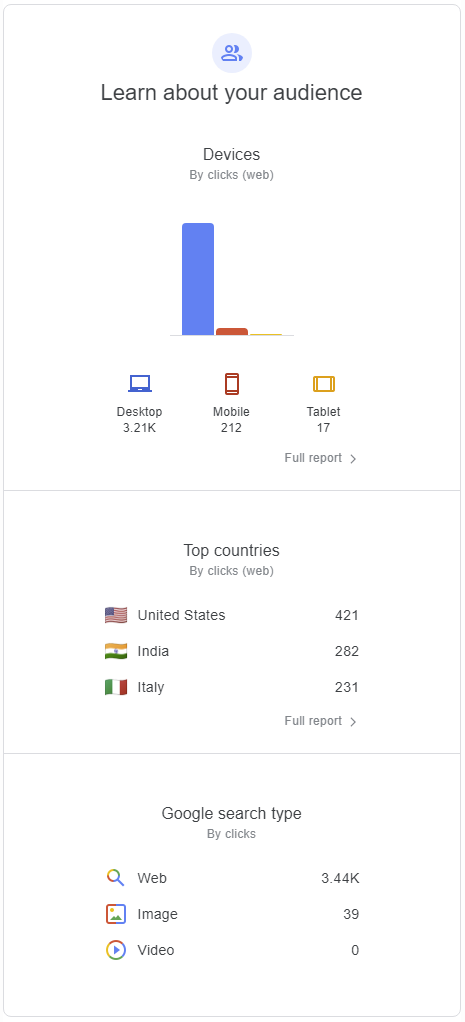
I received my monthly activity report for dalescott.net traffic from Google today, a thought-provoking top-level summary provided at “no cost” (although some will say it’s already cost me my soul ;-)).
This is technology research for me. Big enterprise expends effort where a return is expected. I follow their lead looking for the concepts that will provide immediate value to smaller businesses, and that can be implemented at a fraction of the cost through participation in Open Source ecosystems.
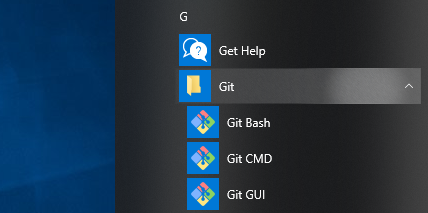
Microchip’s MPLAB X IDE includes a Git client for committing, pushing upstream, pulling downstream, etc, but not for cloning an existing project from a remote repository. In this post, I’ll show how to use the standard Git install for Windows from the Git project to clone a project from a remote repository, and then the basics for using MPLAB X’s built-in Git client for everything else.
I’ll be using MPLAB X on Windows. Although MAC OS X and Linux are also supported for MPLAB X, I don’t use OS X and I’ve been unable to use MPLAB X MCC (the MPLAB Code Configurator) on Linux.
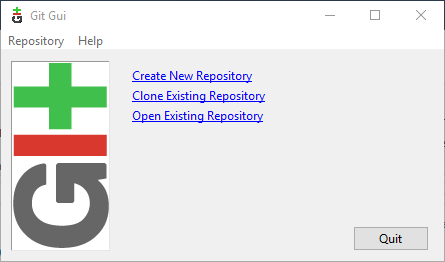
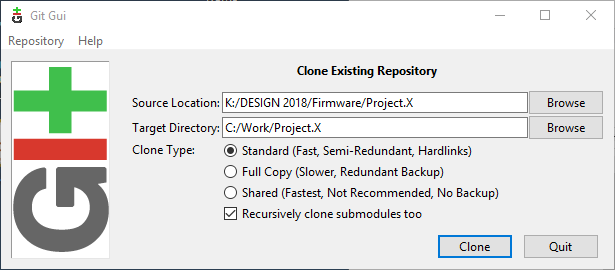
Clone the remote repository. In this example, I’m cloning from a Windows network drive.
You could also use the ssh protocol to clone from a remote server, in which case the source location will be something like the following (you will be prompted for your private ssh key passphrase after clicking Clone):
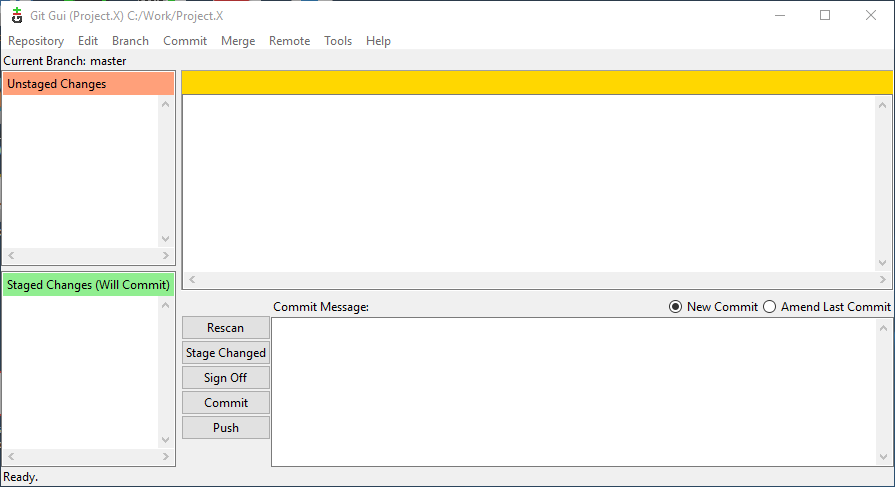
After the remote repo has been cloned, Git GUI will show the current status of the new local repository – which should show no modified files (i.e. no files either staged or unstaged).
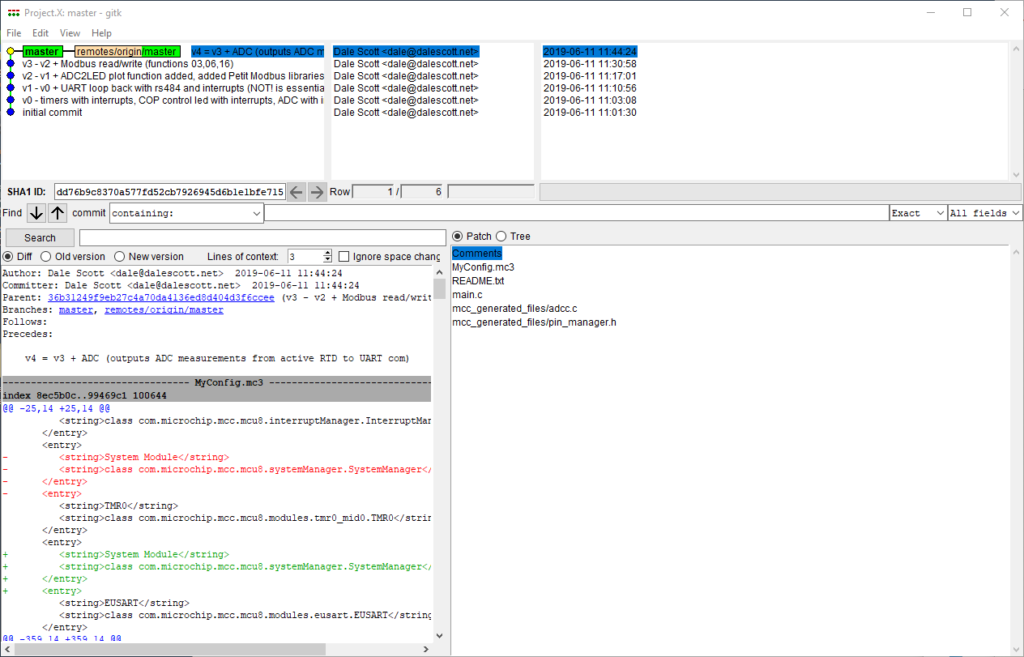
To confirm the repository was cloned correctly, you can check the commit history by accessing menu Repository > Visualize master’s History.
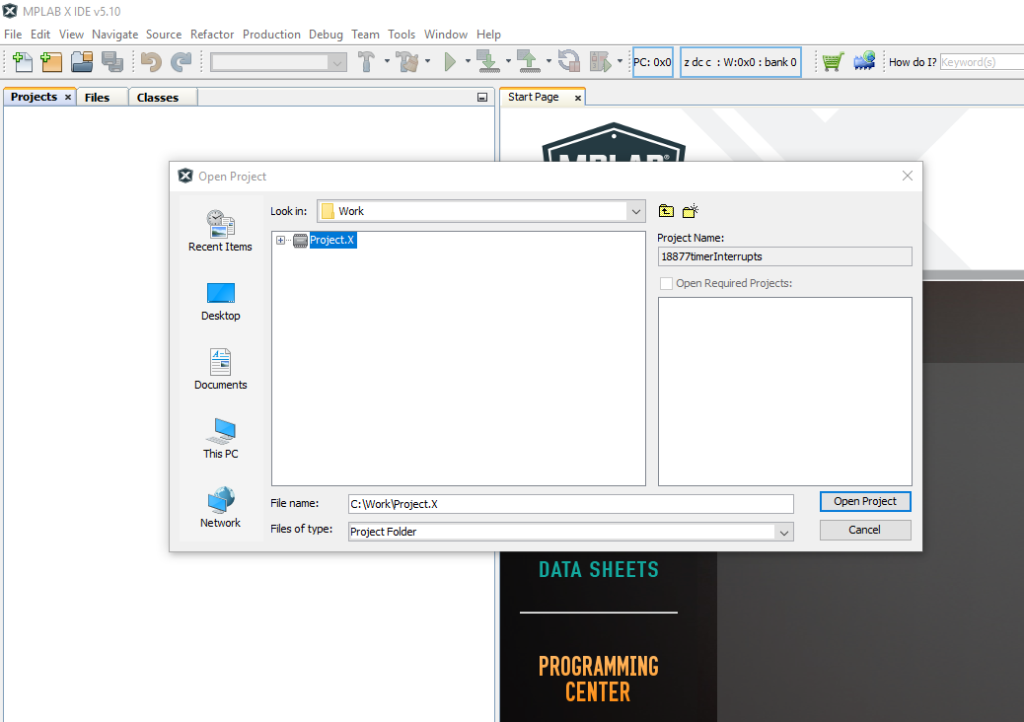
Open project in MPLAB X
Now you can open your cloned project in MPLAB X.
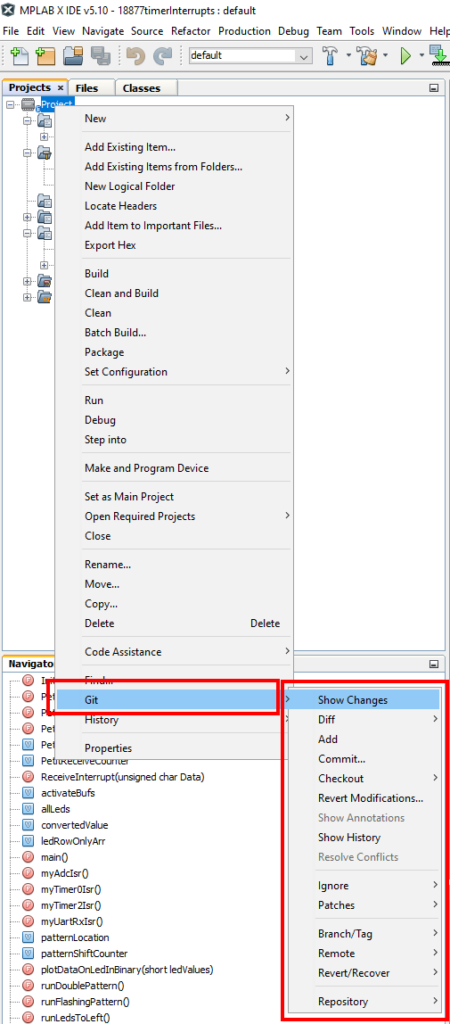
Git is primarily accessed using a project’s context menu from the Project window.
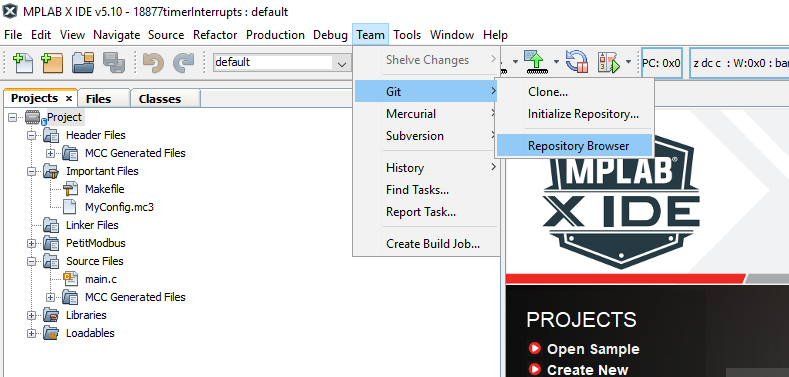
However, be aware there are a few Git commands under the Team menu, including a Repository Browser that aren’t available in the project context menu.
Try accessing Show History for the project (you will need to click “Search” in the Show History view that opens).
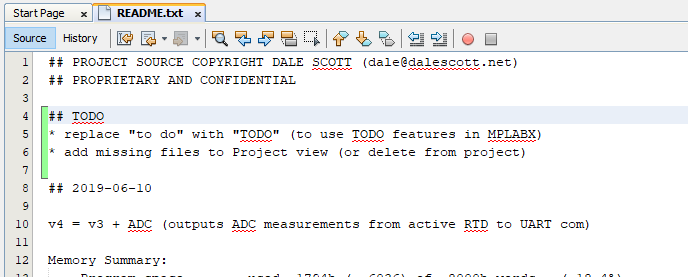
Now I’ll ready to start hacking on the source. I’ll keep it simple and just add some TODO’s to the README.txt file. Notice how the editor shows my changes compared to the last commit in real-time!
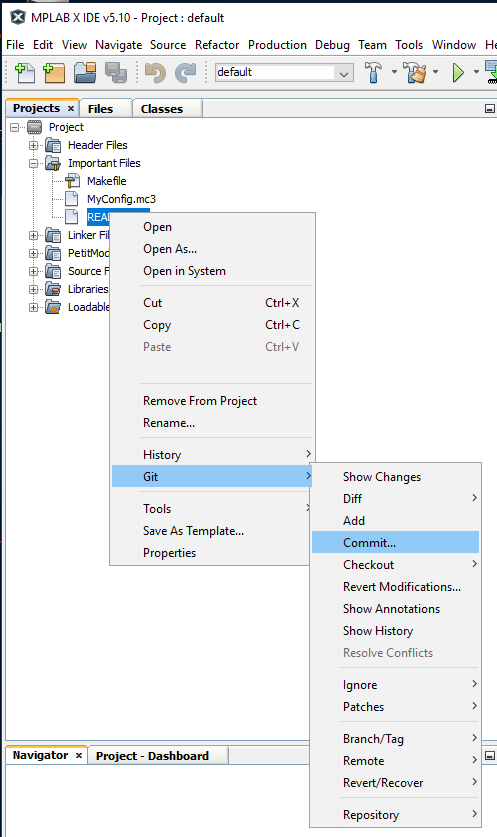
When I’m ready to commit my changes, I can commit just the modified README.txt file,
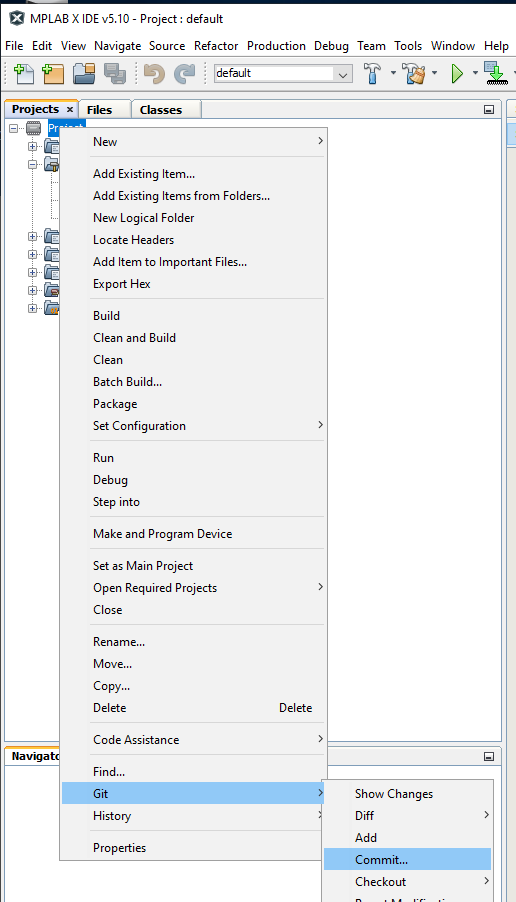
or I can commit all modified files in the project.
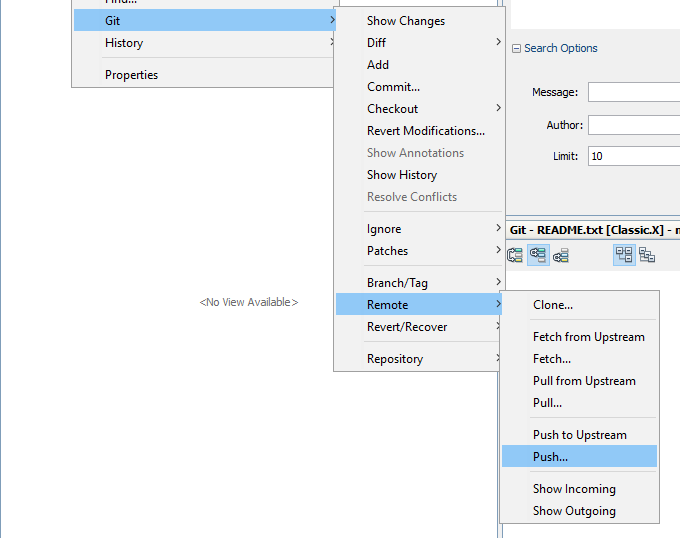
To push a local commit back to the upstream origin repo, use the general-purpose Remote > Push… selection from the Project context menu.
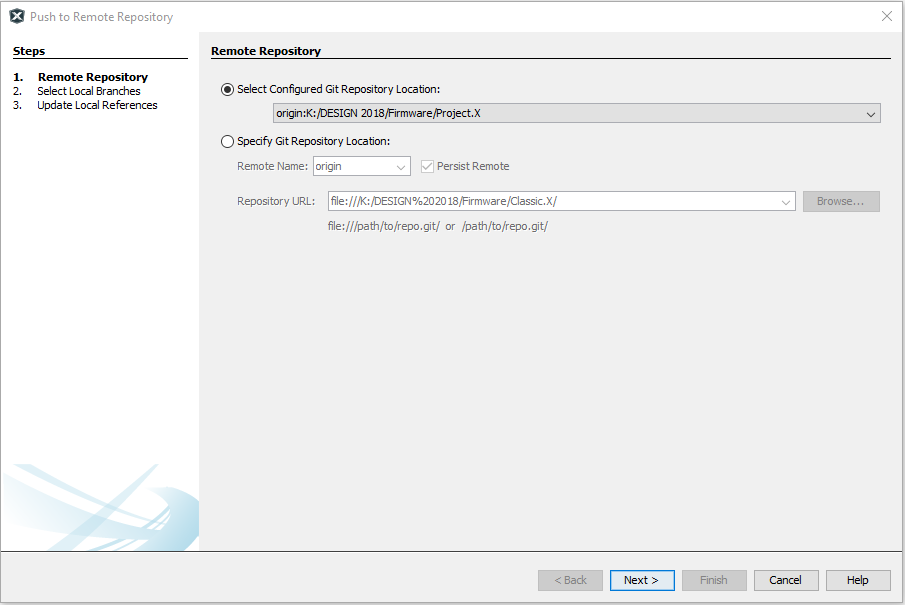
Origin is the only remote repo configured in the local clone, so it should be indicated automatically in the Push to Remote Repository wizard.
There, all done! Wasn’t that easy?
I didn’t do show it, but standard practice is to first Pull from the upstream repo (e.g. origin) before you try pushing a local commit to the upstream repository. If someone has pushed code since your last pull (or clone), you’ll need to merge their changes into your local project first, then push the combined changes to the upstream repo.