Here are several tips that have helped me, someone who uses Windows most of the time and Linux some of the time, finds color coded output a visual nightmare and prefers simplicity.
Ignore File-mode Changes on Windows
Git thinks executable files have changed when going between ‘nix and Windows systems, when it’s only that the file mode is being interpreted differently. On a Windows system, set your global config (~/.gitconfig) to ignore file mode changes. You may also need to check the local (repository) configuration.
Check your global and local configs:
$ git config --global core.filemodeSet configuration to ignore file mode changes (as needed):
$ cd gitrepo
$ git config core.filemode
$ git config --global core.filemode false
$ cd gitrepo
$ git config core.filemode false
Disable Color-coded Git Output
Many developers couldn’t live without color-coded command-line output, but you may find (as I do) that less than perfect color vision combined with high ambient lighting and some screen glare results in a display that is largely incompressible.
To disable color-coded output in a particular repository::
$ git config color.ui false
$ git config color.diff false
$ git config color.status false
$ git config color.branch false
$ git config color.interactive false
To globally disable color coding, add the –global option (but be aware you may also need to configure the global ~/.config file) .
Use .gitignore
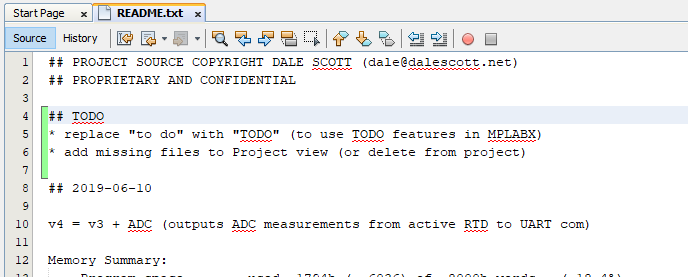
Applications can dynamically generate files, such as compiled templates, that you don’t want Git to do anything with. Achievo writes files to achievotmp/, which can be added to the project’s .gitignore file (which may already be done if you are cloning the canonical project repository in GitHub).
achievotmp/
Also, your development environment, especially is you are using an IDE (Integrated Development Environment) such as PhpStorm or NetBeans, may create its own project directory that you also want Git to ignore. Because this is developer-specific, add an entry to your global ~/.gitignore file for Git to ignore them.
.idea/