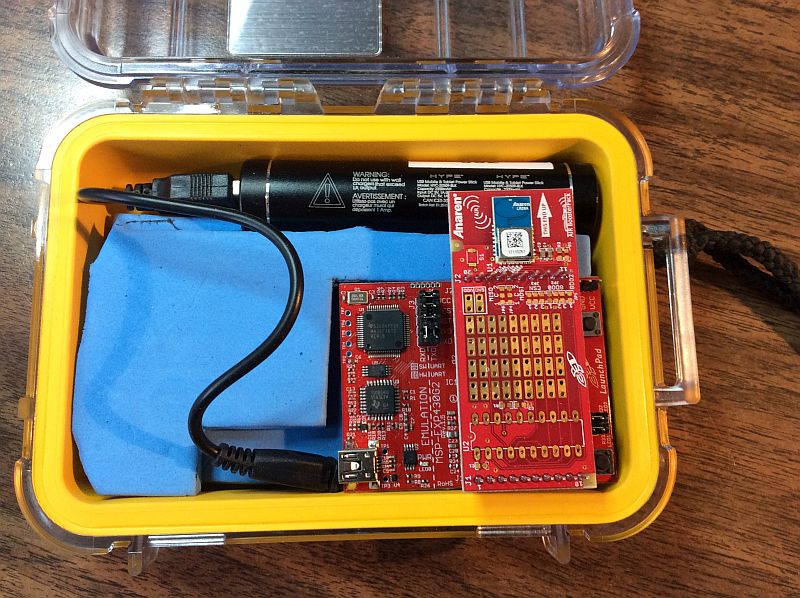
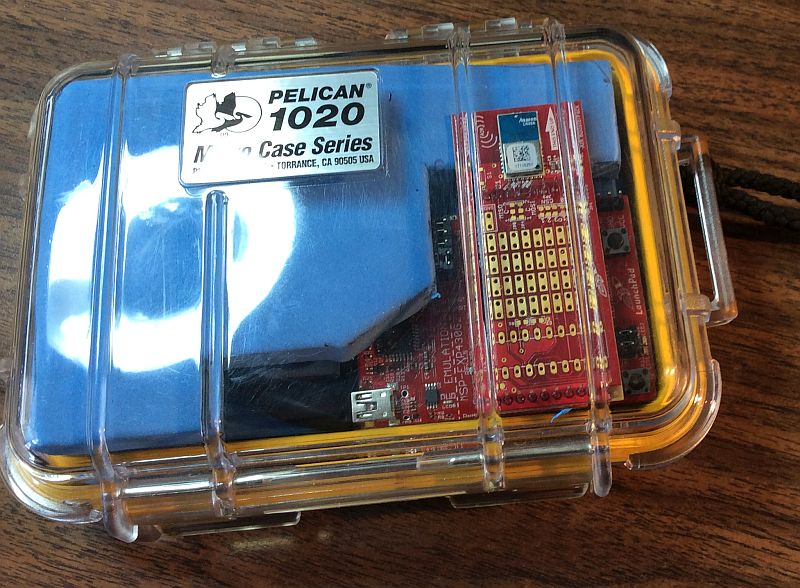
I have been investigating “Sub-1 GHz Wireless” (also known as “the 900 MHz ISM band”) for a new product proof-of-concept. The use-case is a network of 5 to 50 sensor nodes that send data to a hub node, where it is stored temporarily on an SD card and then transmitted over WiFi to an internet server for archiving, analysis, and reporting. The wireless technology needs to have a range of 2 to 3 km (sensor-to-hub or sensor-to-sensor), and very low power for a sensor node to have 1+ year operation using a CR2016 or AA primary cell. The hub node does not have the same power limitation, and can be always-on.
I will present the sensor and hub node hardware and software in this post, and in a subsequent post the cloud service that stores, processes and reports on the sensor data.
Sensor-Node Hardware
I’ll admit I’m somewhat of a TI fanboy at the moment, working with TI’s new 32-bit ARM Cortex M4-F development system now for several months. Although I don’t have many other recent comparison points, the experience was trouble-free and has given me no reason to switch from low-cost development boards with integrated debugging, an excellent software development environment, and business-friendly BSD-licensed support software. Consequently I looked first at devices with LaunchPad / BoosterPack support.
I decided to use a Sub-1 GHz transceiver for the best compromise between range and power consumption. Although the choice may have been somewhat arbitrary and naive, not considering such factors such as modulation technique, allowed transmit power, and antenna design, it allowed development to continue and is still the right choice. Sometimes an exhaustive analysis also means never releasing product, which doesn’t help anyone.
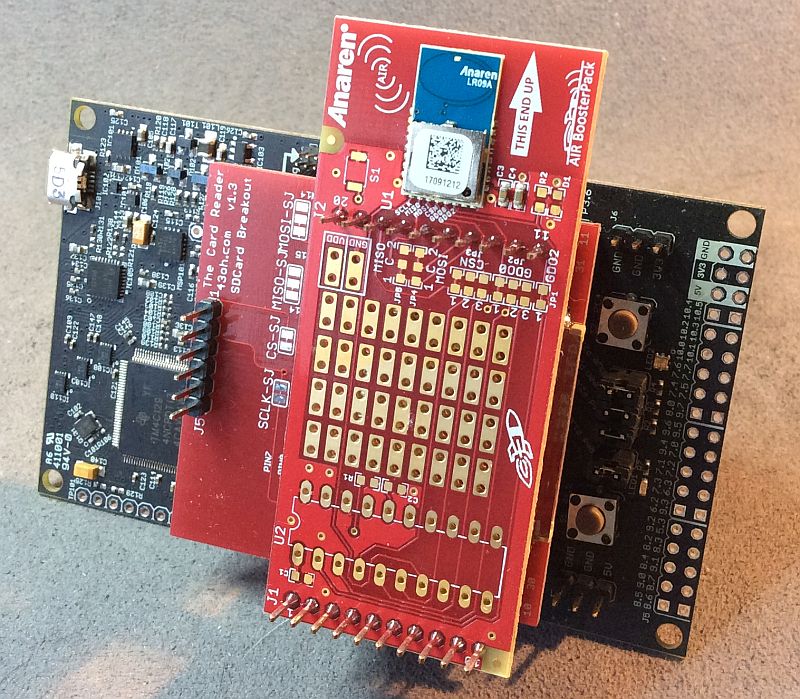
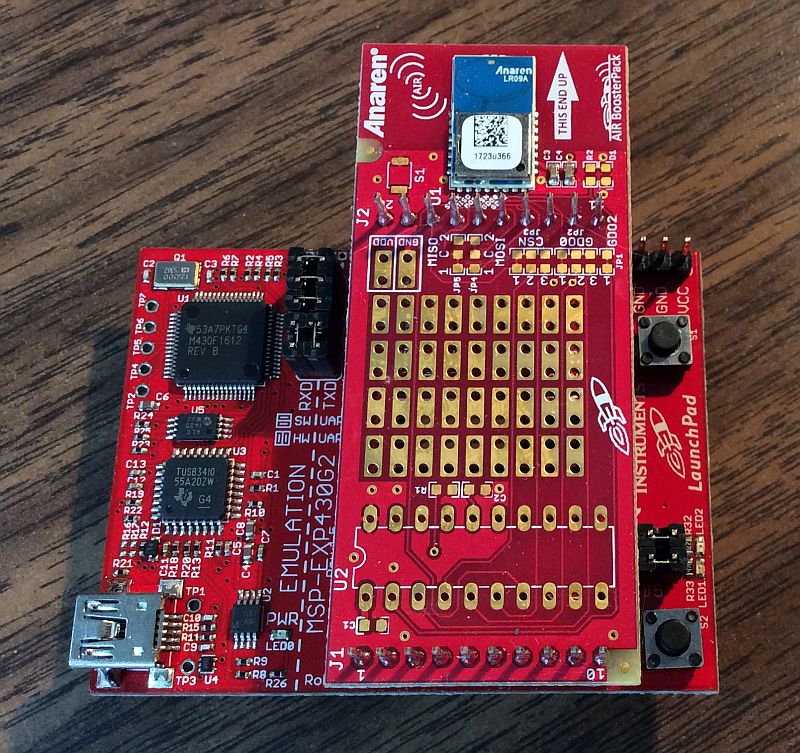
Perhaps fortuitously, the only Sub-1 GHz transceiver BoosterPack is the 430Boost-CC110L, which uses the Anaren A110LR09x, a certified FCC/IC/ETSI-compliant module containing a TI CC110L together with a PCB antenna. The CC110L BoosterPack has been available since December 2011, and is currently available in-stock from Digi-Key for $25 (a quick supply chain test). I have also received assurances from Anaren that their customers demand long lifetimes and the A110LR09x will be available for many years to come. As additional risk mitigation, the CC110L is a cost and feature-reduced version of the TI CC1101, which is also available from Anaren in a certified module, should a higher performance device become necessary, or should any supply issues arise (although unfortunately the CC1101 is only FCC/IC certified at this time).
Sensor-Node Software
The 430Boost-CC110L is provided with BoosterStack LITE, an application for the MSP430G2553 MPU. BoosterStack LITE was reportedly derived from the TI SimpliciTI stack to create a light-weight, single-channel protocol to demonstrate creating a simple star network, presumably removing features to be compatible with the MSP430G2553. For new applications, Anaren recommends using the Anaren BaseLink driver library (instead of modifying BoosterStack). However, I don’t understand yet how BaseLink relates to SimpliciTI, and whether a SimpliciTI-based networking would sit on top of BaseLink, the other way round, or if BaseLink is effectively included in SimpliciTI. For a more fully-featured protocol, Anaren recommends simply using SimpliciTI.
I need to build at least a minimal stack for software technology option before deciding which to proceed with.
Anaren BoosterStack LITE
- Provided by Anaren with the 430Boost-CC110L as a demo app using the TI MSP430G2553 MPU.
- Allows creation of a 3-node network (two sensors and one hub node) compiling with mspgcc, or a 5-node network (four sensors and one hub node) if compiling with IAR. I’m anticipating using a TI MSP432 32-bit ARM processor for production, which should alleviate any practical node limitation.
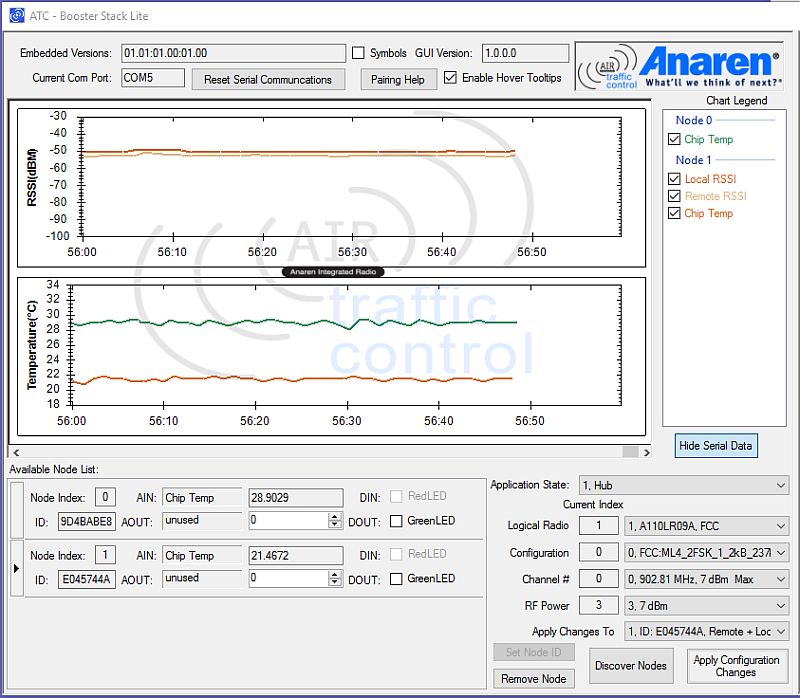
- Anaren also provide a PC-based GUI – Air Traffic Control (ATC), but unfortunately ATC is missing features like data logging, and source code is not available.
- BoosterStack LITE was reportedly derived from the TI SimpliciTI stack to create a light-weight, single-channel protocol to demonstrate creating a simple star network, and presumably was cut-back in order to use a low-cost MSP432 MPU. The source appears to depend on binary library (mspgcc and IAR versions are provided), but it is not clear if the library source is available.
- Anaren recommends new applications use the Anaren BaseLink driver library.
- For browsing convenience, I have created a GitHub repo with the BoosterStackLite source (https://github.com/dalers/airboosterstack).
TI SimpliciTI
SimpliciTI™ is a low-power RF protocol aimed at simple, small RF networks. It is open-source software, intended as the basis for building a network with battery-operated devices using a TI low-power RF System-on-Chip (SoC) or an MSP430 ultra-low-power MCU and TI RF transceiver.
- TI SimpliciTI stack main page.
- SimplicitiTI Wiki
- See the SimpliciTI FAQ for a discussion of the maximum number of nodes.
- Using the 32-but MSP432 MPU should presumably not have any limitation.
- SimpliciTI reportedly supports the CC1101, and by inference the CC110L.
LarsRF
LarsRF is a simple RF library for a TI MSP430G2553 LaunchPad and CC110L RF Boosterpack, using the low-level TI SLA3325 library for interfacing to the CC1101. It is BSD licensed in intent, although restricted to TI MPUs and wireless transceiver devices.
Phase 1 MSP430 Node
In Phase 1, the 430Boost-CC110L out-of-box demo application is evaluated using the provided pre-programmed MSP430G2553 MPUs (and two MSP-EXP430G2 LaunchPads) in a two-node network (one sensor node and one hub node).
Although the pre-programmed MSP430G2553 MPUs provided with the 430Boost-CC110L Sub-1 GHz transceiver BoosterPacks support a five-node network, the network is effectively constrained to three nodes when the executable is compiled from source using mspgcc (which must be done to use any sensor other than the MSP430 on-chip temperature sensor). Since the use-case requires a network of five to fifty nodes, as well as SD local data storage and internet connectivity, in Phase 2 the MSP430 MPU will be upgraded to an MSP432.
Phase 2 MSP432 Node
In Phase 2, the MSP430 MPU will be upgraded to a 32-bit MSP432P401R (with 64 Kbytes RAM and 256 Kbytes non-volatile memory) to support more than three nodes, as well as local SD data storage and WiFi internet connectivity.