
Microchip’s MPLAB X IDE includes a Git client for committing, pushing upstream, pulling downstream, etc, but not for cloning an existing project from a remote repository. In this post, I’ll show how to use the standard Git install for Windows from the Git project to clone a project from a remote repository, and then the basics for using MPLAB X’s built-in Git client for everything else.
I’ll be using MPLAB X on Windows. Although MAC OS X and Linux are also supported for MPLAB X, I don’t use OS X and I’ve been unable to use MPLAB X MCC (the MPLAB Code Configurator) on Linux.
Git GUI
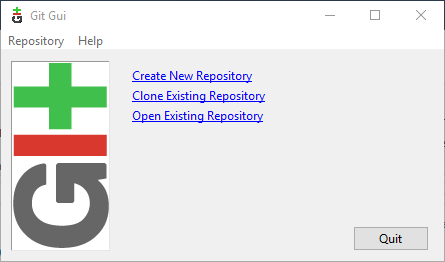
The standard Git install for Windows from the Git project includes Git GUI, a basic Git client GUI app.
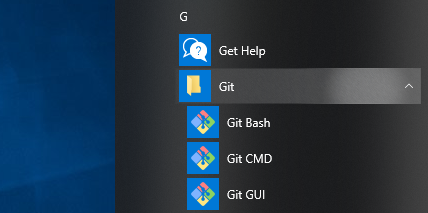
Download and install Git, then launch Git GUI.
and select Clone Existing Repository.
Clone the remote repository. In this example, I’m cloning from a Windows network drive.
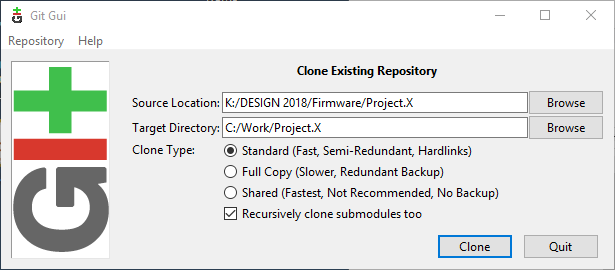
You could also use the ssh protocol to clone from a remote server, in which case the source location will be something like the following (you will be prompted for your private ssh key passphrase after clicking Clone):
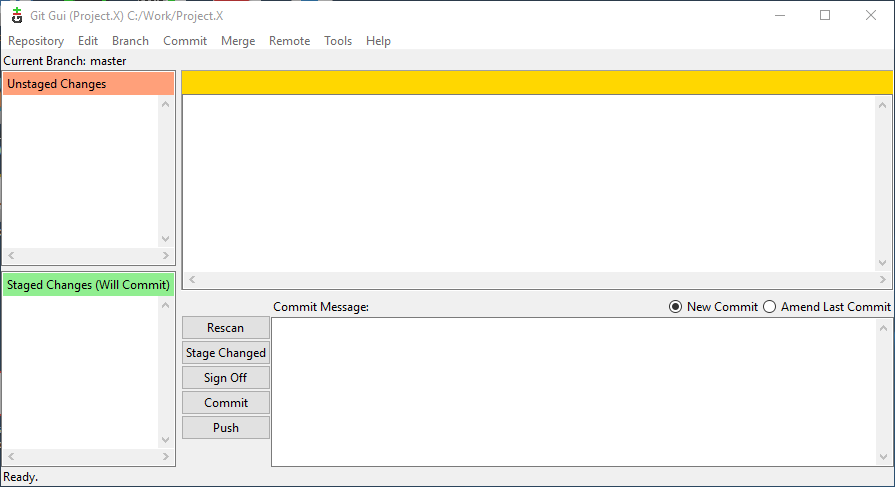
ssh://dalescott@dalescott.net/home/dalescott/sourceProject.X.git sourceProjectAfter the remote repo has been cloned, Git GUI will show the current status of the new local repository – which should show no modified files (i.e. no files either staged or unstaged).
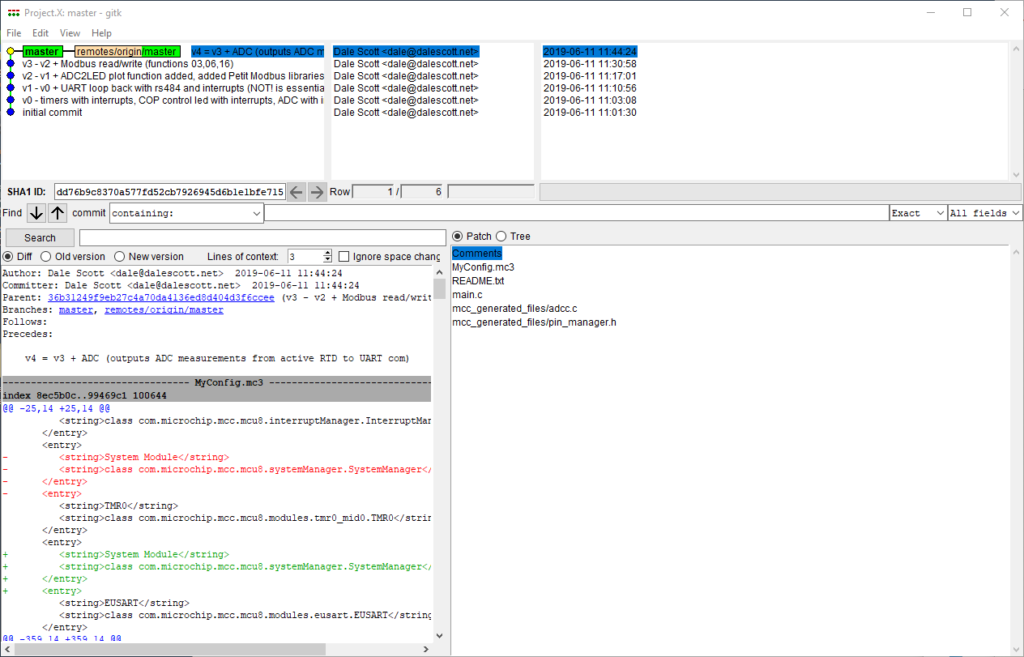
To confirm the repository was cloned correctly, you can check the commit history by accessing menu Repository > Visualize master’s History.
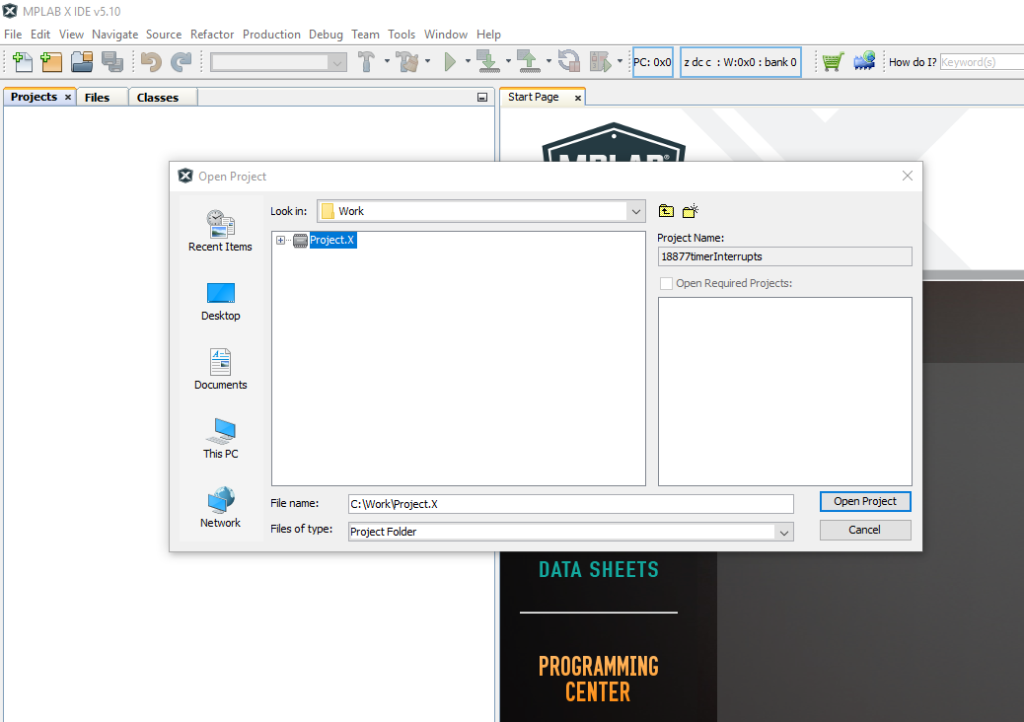
Open project in MPLAB X
Now you can open your cloned project in MPLAB X.
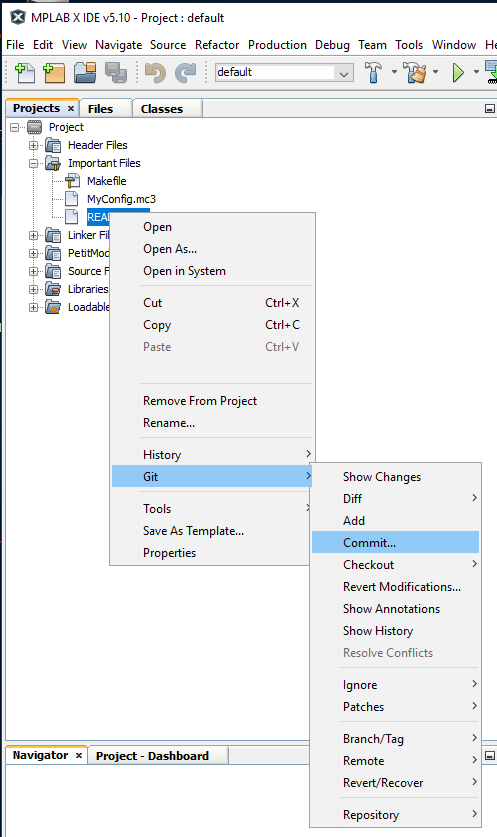
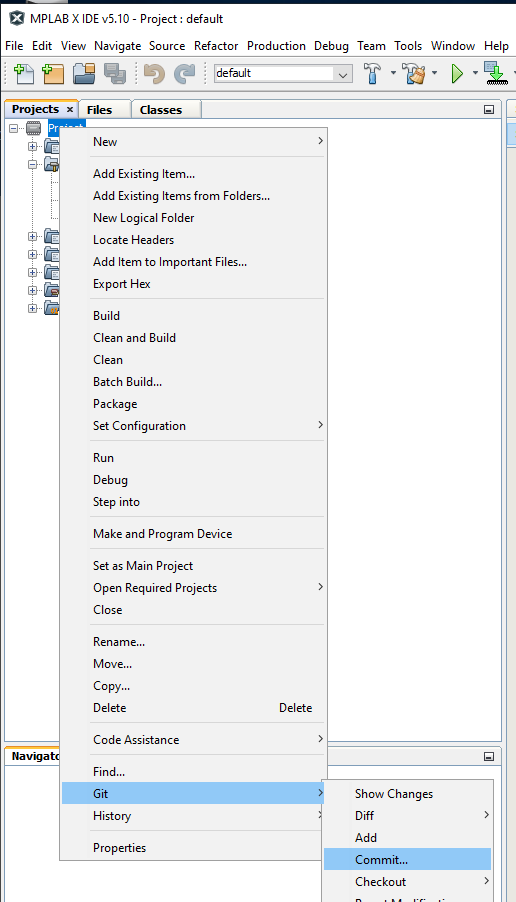
Git is primarily accessed using a project’s context menu from the Project window.
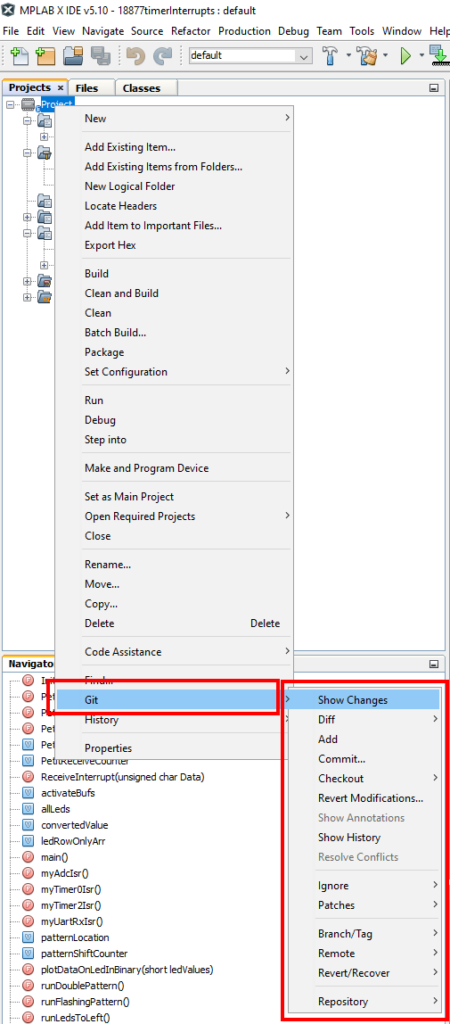
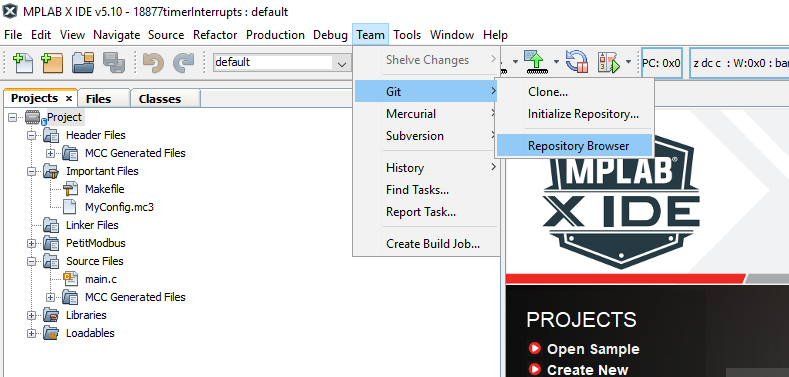
However, be aware there are a few Git commands under the Team menu, including a Repository Browser that aren’t available in the project context menu.
Try accessing Show History for the project (you will need to click “Search” in the Show History view that opens).
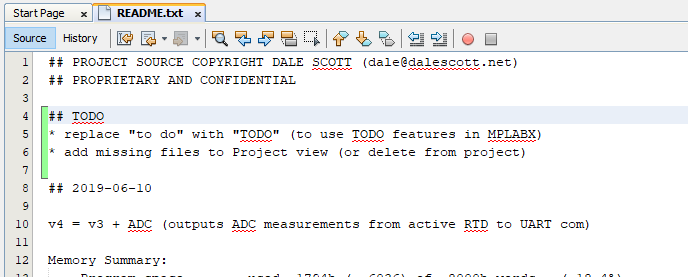
Now I’ll ready to start hacking on the source. I’ll keep it simple and just add some TODO’s to the README.txt file. Notice how the editor shows my changes compared to the last commit in real-time!
When I’m ready to commit my changes, I can commit just the modified README.txt file,
or I can commit all modified files in the project.
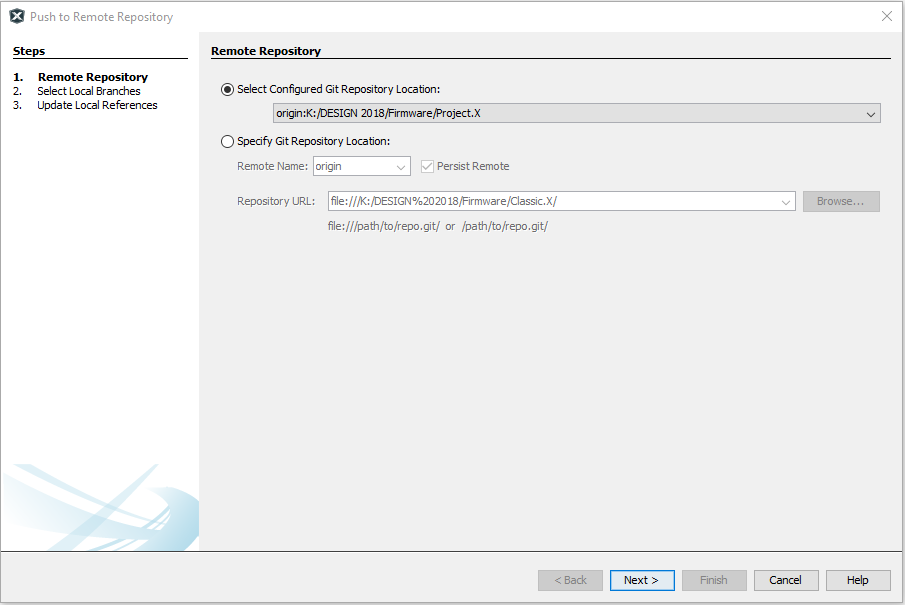
To push a local commit back to the upstream origin repo, use the general-purpose Remote > Push… selection from the Project context menu.
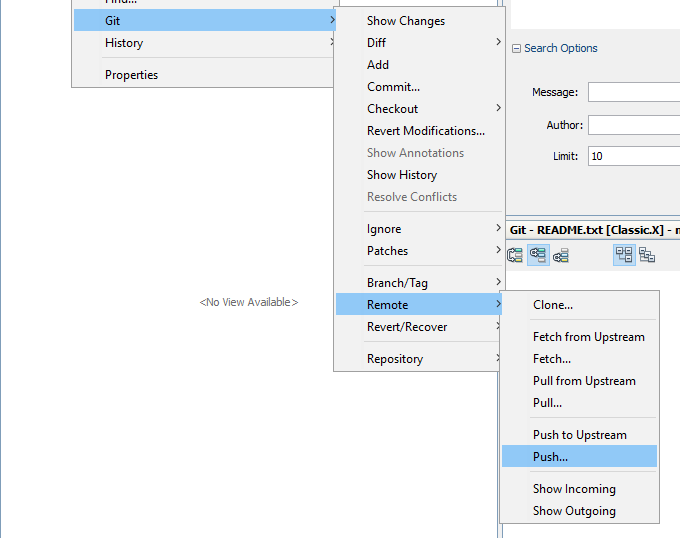
Origin is the only remote repo configured in the local clone, so it should be indicated automatically in the Push to Remote Repository wizard.
There, all done! Wasn’t that easy?
I didn’t do show it, but standard practice is to first Pull from the upstream repo (e.g. origin) before you try pushing a local commit to the upstream repository. If someone has pushed code since your last pull (or clone), you’ll need to merge their changes into your local project first, then push the combined changes to the upstream repo.